Sunday, March 1, 2015

New Babe! Dragon Tree (Dracaena Marginata)

I have been eyeing up this plant for quite some time now and for whatever reason, today I decided I would take one home with me.  I had intended to put it in a small white pot as shown in the first photo, but as I so often do, I misgauged how much depth the original root system/soil mass has and it simply would not fit.  You can see the larger silver pot I ended up using in the final photograph.

Gathering materials for nestling in this new plant!
This plant was less than $4 at Home Depot.  I feel like that's not a terrible investment for what I hope will eventually be a large floor plant/tree.  Ultimately I'd love to have a bunch of tall plants, but I'm a little cheap to just go out and drop a couple hundo's on some mature house plants/trees.  Besides, it's kind of fun to chart the growth of some of these babes!

Dragon in its store original plastic sleeve.

The soil was very loose and wet, so it must have just been watered.  The mix looked mostly peat moss, so I didn't bother stirring up a new soil combo.  I mostly filled in around it with peat and then sprinkled some of a leftover mix which had some perlite and possibly vermiculite in it.

Oh yes, definitely ready for a new pot!  But not that white one, too tiny!

Stepping it up to a larger ceramic pot with a metallic glaze.

Per usual, there's a nice stone base and I left about an inch between the top of the soil and the top edge of the pot.  I imagine this soil will compact after a month or two of waterings, so I will probably layer in some more soil on top.

New Babe! Money Tree (Pachira Aquatica)

This particular plant has an interesting background, but we'll save the details for another day.  Essentially, another rescue situation wherein the plant was received as a gift and neglected, I took it in with Open Arms (Mariah Carey song)!

The plant in its original typical plastic 4" pot, with the materials I used to give it a more permanent home in the larger clear plastic sleeve & decorative white ceramic pot combo.
I used some potting soil left over from a previous mix to fill in the space of the upgraded pot.  Of course, I laid in a layer of stones.  This time it was probably about 1" deep, and I'm actually using river stones as I ran out of my river rock, which is a little more jagged, finer pieces and less aesthetic.  I don't end up using these more "glamorous" rocks like I thought I might, so I figured I might as well put them to some use!  

The money tree in its final resting place - for a year or so, that is!
I believe this rascal will do well in low light or indirect lighting conditions.  I imagine its watering requirements are akin to my palm - it likes to be moist, but not drenched, and probably dries out pretty easily - I mean look at all those stems!  This will be the first plant I have ever had to actually maintain a braid with, so that will be an interesting challenge, but I'm hoping to get this sucker to grow several feet tall so it becomes a floor plant.  We'll see how long that takes!

Stringy, Leggy Succulents

Something I have been struggling with lately is getting my succulents to grow as thick and full as were when I first got them.  My echeveria originally started out growing larger leaves (maybe this was during summer?), but since then I haven't been able to get any of the propagates to grow leaves much larger than an inch or two.

Check out the echeveria curving up the left side - it's more stem than leaf!
I have to think this has something to do with the lighting conditions I have.  Maybe it's time to start thinking about artificial lighting as a supplement.

Checking in on my Moses in the cradle, I was at first pleased to see how much it had grown.  Upon closer inspection, I realized that the growth was again mostly vertical and not much foliage.

Look at the height this bad boy has achieved!

...and yet when you look closer, the spacing between leaves is over an inch...

...as compared to the original growth, which was quite dense leaf shoots.
I'm not sure what to do about this Moses.  I read online that outdoors you can cut them back, basically in half, to encourage denser growth in the spring.  I might try cutting it back and then setting it outside in a somewhat shady spot to see what kind of growth I can get.

Sunday, February 22, 2015

Aluminum Armament

I am finding that I really like using alliteration in my post titles.

Anyway, my aluminum propagates are doing wonderfully, particularly given we have not been in the growing season.  As you may recall, I had 4 propagates that I trimmed from the original plant.  One I gave to a coworker as he has a nice sunny desk and an array of plants in his own armament.  One I recently gave to a friend who also has a nice sunny desk at work.  She promptly cut the top off to propagate it again.  I'm curious how those two will do, since the propagate has not gone through a growth cycle yet, I wonder if it will survive the second decapitation.  If not, I will give her another one after these little ones have become more established.

A propagate.
October 2014

A propagate (this one has yellowish leaves.. not sure why yet).
November 2014

My three propagates, before giving one to my friend.
February 2015

The original plant.
December 2014

The original plant.
February 2015

Orchids Aplomb.. and A-Plummet!

I am pleased to report that my oldest orchid appears to be blooming again.  I think this is the second time I have been able to get it to bloom.


My second oldest is shooting out still, but suffering dramatically.  It's hard to tell if it will even push out one bloom before it completely croaks.  I think the dry air this winter has been especially hard on my more tropical plants.  I've started placing jars of water every where around all my plants.  I think I may need to double this effort, though, as the jars almost completely dry out after a week.  I don't have any good photos of the second oldest at the moment.

The absolute youngest is now completely dead.  I was keeping a close eye on it for awhile because it had sprouted a "baby," which I thought was odd given that the orchid itself was already so tiny.  I had read that you want to wait until the roots are at least an inch or two before detaching the baby from the parent plant, but this one's roots stayed way too small.  The parent plant deteriorated quickly and by the time I realized it had died, the baby was already starting to shrivel as well.  Unfortunately I left for vacation the day after I finally separated the baby and so I had to set it down in a completely inhospitable situation (just on top of another orchid's soil, and the air was so dry the whole time I was gone.  Perhaps if I had been home I could have spritzed it every day, or at least construct a more appropriate atmosphere for it.).


So now I am down to three orchids.  At my peak I had five.  I think my apartment is very unideal for orchids, which is why the smaller ones seem to struggle to develop here.  If I get any more orchids, I'm going to have to develop some sort of terrarium-like environment for the winter and perhaps take more rigor in maintaining them.  For now, I'll just let these more mature orchids take their course.

Saturday, January 17, 2015

New Strategy for the Begonias

After doing some reading about begonias online and noting their growing requirements, I came to the conclusion that my begonia was doing terribly because the conditions here are not very humid.  Also, the pot I had it in was probably not the best at draining quickly.  It is my understanding that begonias need to be kept in humid environments, but they still need relatively quickly draining soil.

What I have been doing this winter, since the air is so cold and dry, is setting jars of water amongst my plant tiers.  Since I find trays of water and stone to be most annoying and cumbersome, I am trying this alternative approach for now.

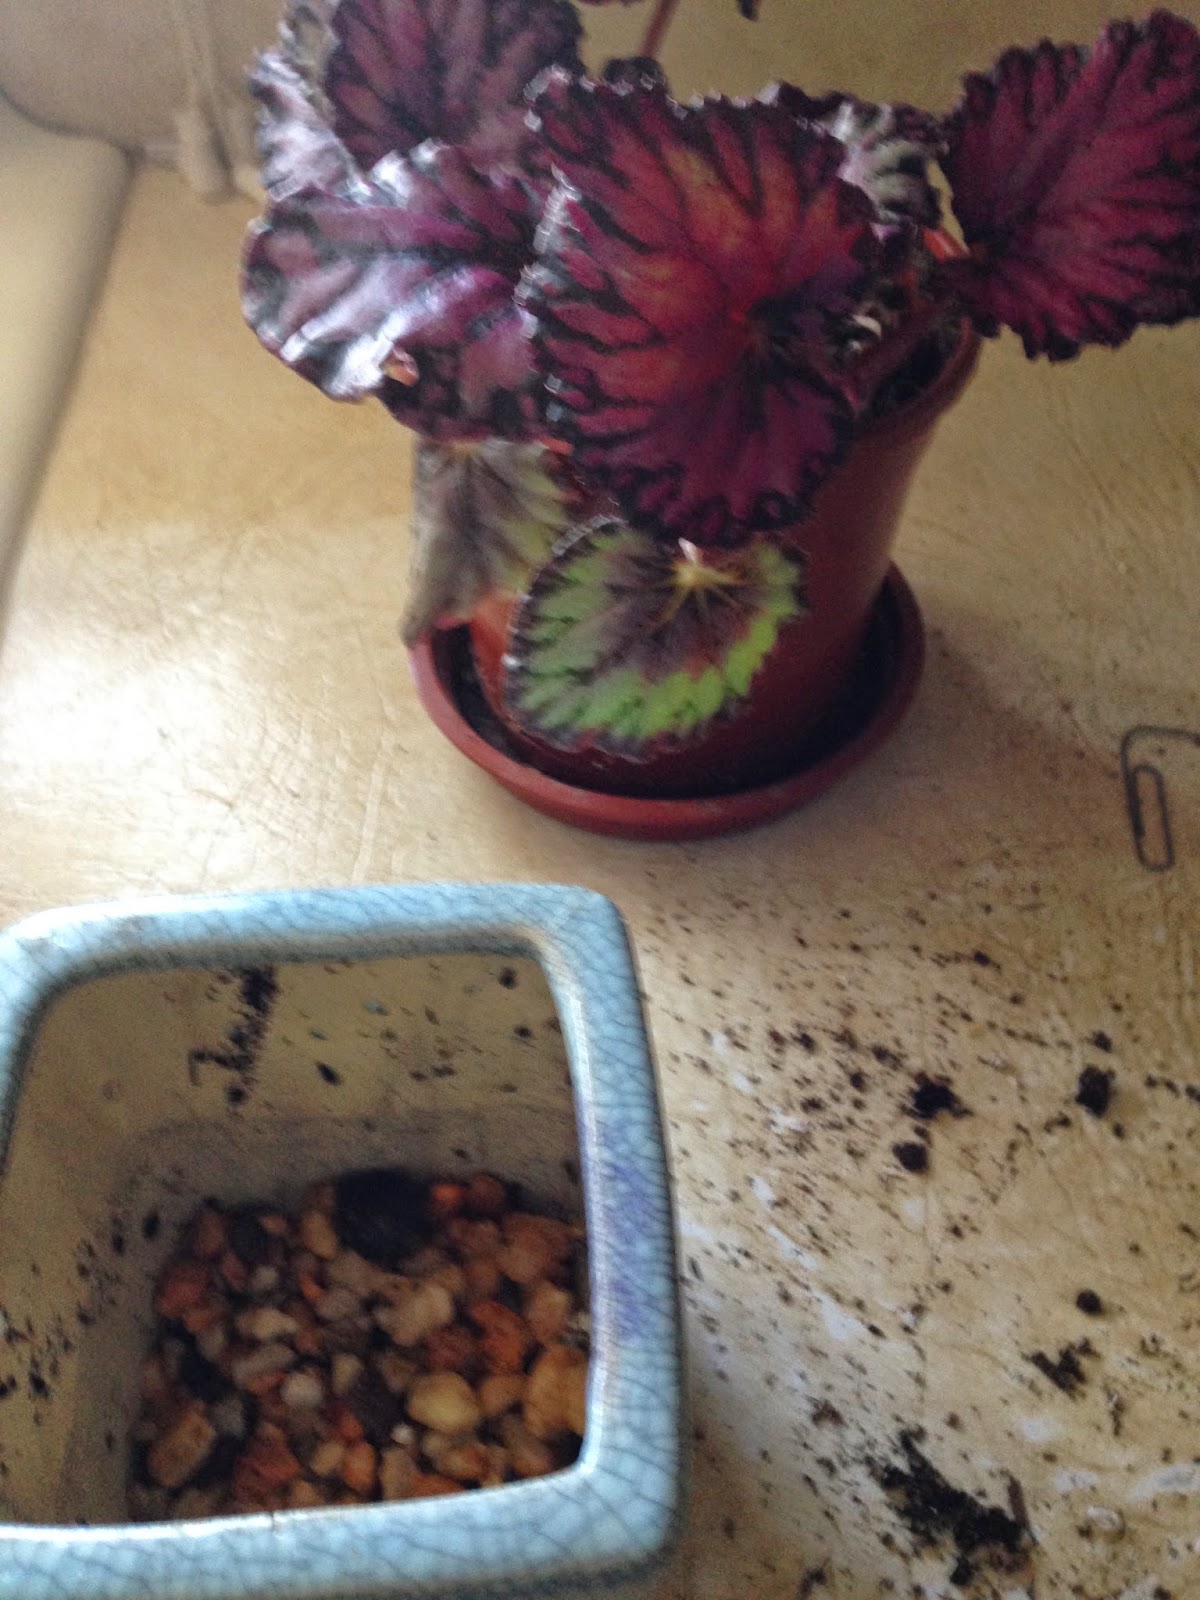
Anyway, so I finally decided to repot the begonia, and actually ended up dividing it as well.

For reference, September 2014:


You can see the state of the begonia today in the background, in that hideous pot that I am half tempted to just throw out.  Realistically, I will either give it to someone or drop it in the reusables at Bucks Country Gardens.


I got this cute little Chinese/Japanese-themed ceramic piece at Restore in Chalfont last weekend.  I wasn't sure what to do with it... until now!  I like the way the begonia looks all bonsai in it.


The rest of the big ol' begonia gets nestled into a lower shelf surrounded by four jars of tap water.

Spider Plant Rescue!

I received the below spider plant from a coworker, who was worried he had killed the plant.  Looking at it, I imagine he received the plant many months ago, and just kept it in its plastic cup filled with water.  Perhaps this is a fine long term arrangement for some of the spider plants, but you can tell by looking at this one, it just needs some soil!

Oops, I just realized I didn't take any "before" photos!

Ok, well I ended up plunking it down into my little column cap planter.  I ripped a piece of it off and stuck that in my former baby orchid pot.


Below you can kind of get a sense of some of the decay that had been caused by such long submersion in water.  I think that some of the leaves were completely submerged, in addition to the roots, which caused the leaves to decay and contaminate the water and make the whole plant a garbly gook of a mess.


I will keep tracking the progress of these little ones, but I expect a full recovery!