Showing posts with label Wandering jew. Show all posts

Sunday, February 7, 2016

Downsizing

For my last pot of wandering Jew, I decided I wouldn't trim the stems and just let it keep growing as long as possible.  It grew quite long and pretty dense to the point that weekly watering was not enough to keep all the limbs nourished.  It started to dry out from the top and underside out.  Finally, at least half of it dried up and I decided to downsize it like crazy.  Observe:

Dense and long - I flipped the long ends up and over the pot.

Here it is as I start to shake out the leaves (with camera flash).

Not in terrible shape, but too dried out.

I clipped about 20 or so tips to root and repot.

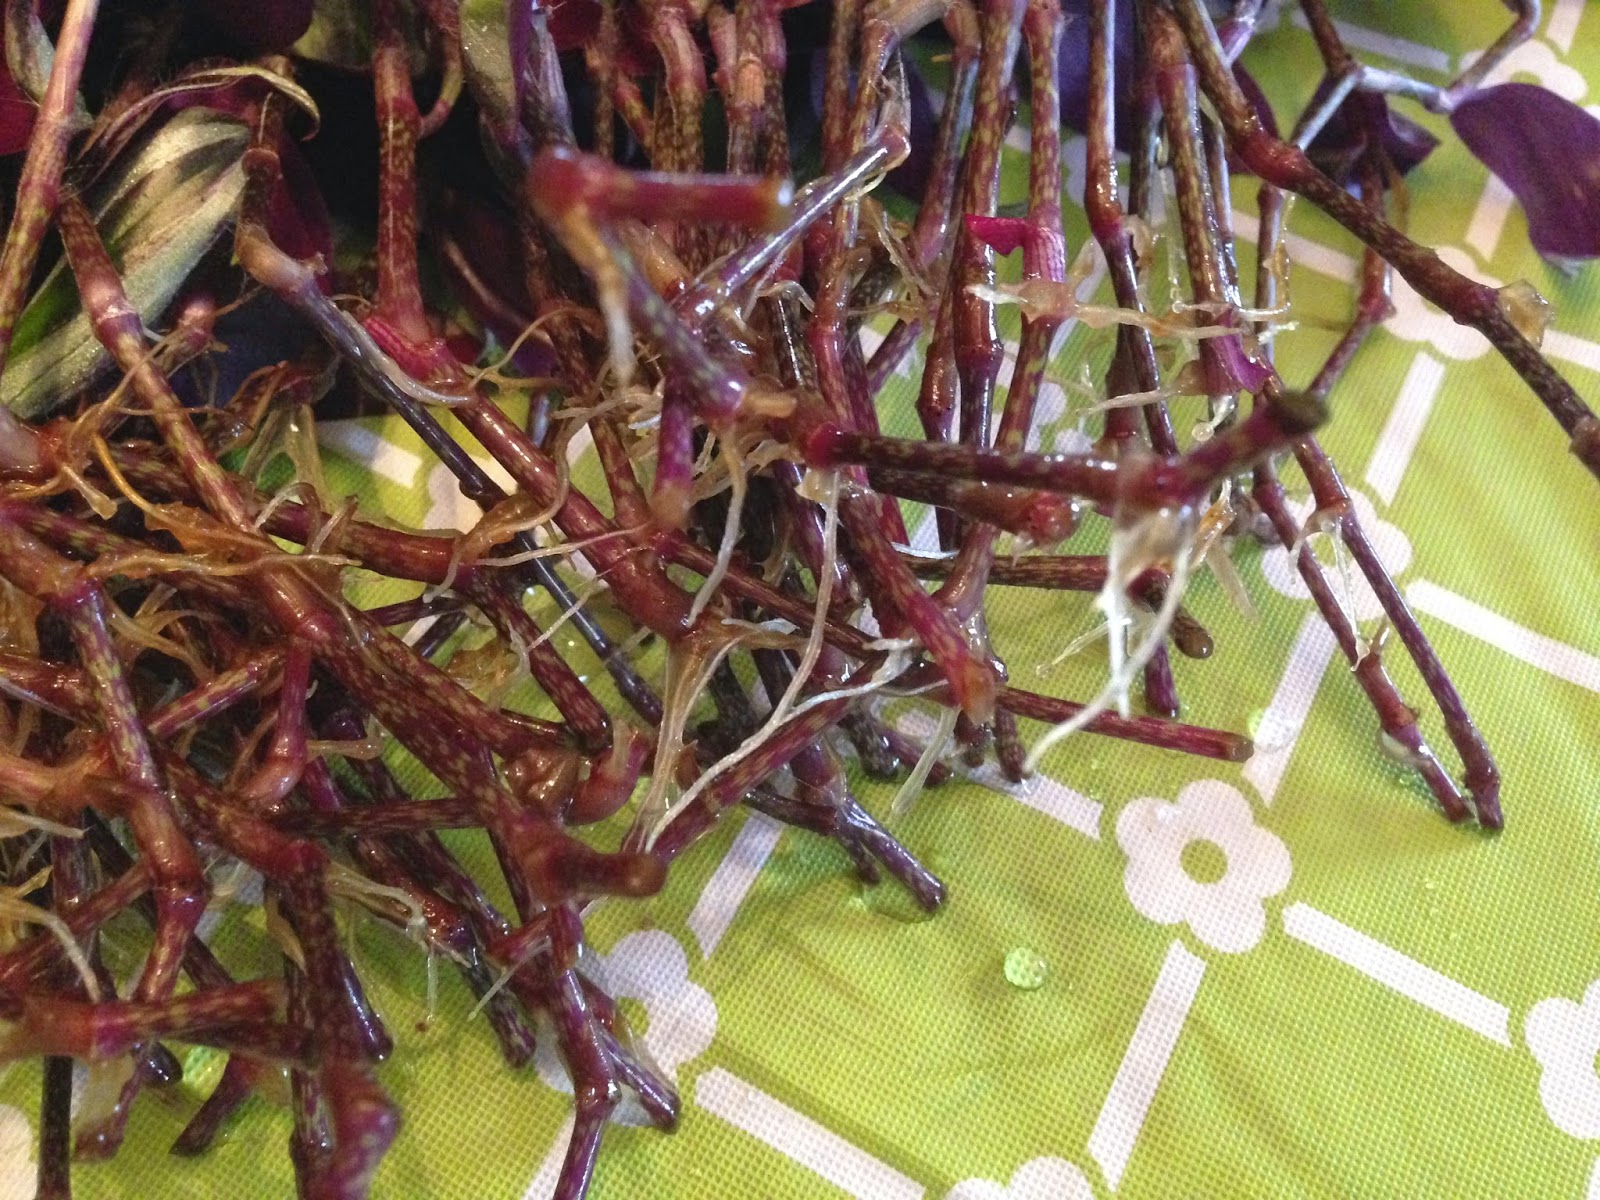
I had to replenish this vase 2 times as the new roots sucked up all the water!

Ready to pot!
A new strategy I am using is to place cut-offs of leftover mosaic tile samples in the bottom of pots instead of stones.  I get the samples for free from work and they would otherwise be thrown out.  I like this better than stones, as the stone tend to mix in with the soil and it's hard to reuse them without spending a lot of time and water cleaning them.  The tiles come out and with a quick rinse (or not) are ready for reuse.


Tuesday, June 17, 2014

Sun Burn

A new thing I'm trying this summer is to put plants outside by my front door.  This may be a little aggressive, because with the way my apartment is laid out, all my windows face East, North or West, and my front door faces South.  So plants that are used to brief periods of sunlight are suddenly fully exposed all day long.  And it's been a little bit warm out there.  So I am finding that after a few days, no matter what plant I try, there is sun burn.

I've read that you should really stage this, like do 4 hours the first couple days and slowly increase exposure allowing plants time to adjust.  However, I work a full-time job and somehow I think that exposing the plants to the sun between the hours of 5am and 8am won't really help it transition to all day.  So I've been trying this all or nothing approach.

Below you can see some examples of the sun burn.

Wandering Jew:
(I haven't decided yet whether I'm going to let this one ride it out or if I'm going to move it to a shadier spot or just bring it back inside.)


Sedum clippings:


Kalanchoe:


Sunday, June 8, 2014

Weekend Clean Up

When I returned home this weekend I went around to check on my various babes.  It looks like I may have gotten some sprouts out of the gerber daisy seeds I planted last week!


At least I hope that's what the growth is and not some miscellaneous plant that came in from the soil or more likely the rainwater.   I noticed this past week that a few of my pots have fungi growing in them!  I can only imagine the rainwater batch I was using had some spores.  Luckily they don't seem to last long, I think they get fried in the sun.

My original polka dot plant was looking like it need a new pot.  If you recall, that thing got pretty tall last summer/fall then fell into a deep dormant state.  Now it is starting to grow again, so I want the new root system to expand in fresh new soil in a new pot.  And hopefully divide the plant in the process!  So I dug it out of its pot and found quite the massive root ball:


I divided the ball and stems into two chunks, since there are essentially two stems coming out of it.  The one was a little larger than the other, so in the end I used three different sized pots.  The ittiest of bittiest pots is for what appears to be a new stem/baby altogether.  Observe:


In other news, my super ultra dense bajillionth generation wandering jew looks to be doing very well!  


This wandering jew appears to be making a comeback from its leggier, stringier beginnings.  I've placed it outside in what I hope will be enough shade behind this pot of future sunflowers.


You can see I moved my ivy outside, too.  It wasn't doing so well inside for some reason.  Half the leaves on one side were getting droopy.  I'm not sure if it was because I neglected to water it or if its this weird infestation that appears to have covered all the leaves in a cobweb like coating.  I didn't take any detail photos of it before I shook it off and attempted to drench the plant after setting it outside.  I'll have to keep you posted on those developments.  Not sure if it's a good idea, but something tells me putting the plant out in the fresh air and sunshine might help ward off whatever those creepers are.  Or the environmental shock may just put the plant out of its misery!  We shall see.

Saturday, May 10, 2014

Propagating Wandering Jew

Today I finally took my rooting cuttings of the wandering jew I recently incarnated into the next generation.  Here you can see the 50 or so cuttings I'd had soaking in a short vase of water, developing roots.


All but maybe 3 of them had a decent start to a root system.


And here is their new home:


 I planted them in 4 groups, bunching them up in my hand, boring a little hole and shoving them down in.  There's probably 14 or so in each group.  I have found that planting a whole mess together like this yields a much fuller and hearty looking plant.  I used to plant them stem by stem in a spread out configuration that led to leggy looking adult plants.


Since I was reusing potting soil, I added a scoop of vermiculite and pearlite, mixed it around a little bit with the soil and sprinkled maybe an inch on top of the pot of reused soil.  I read somewhere that it is good to reuse soil for new plants, new soil may "shock" them.  I also doused the new potting with a full flush of 15-30-15 fertilizer in rainwater.


I'll report back in a few weeks to let you know how many have taken root and how it's growing!

Wednesday, April 30, 2014

Purple Shamrock (Oxalis triangularis)

I am still trying to figure this one out.  I got the one below in June of 2013 on discount, advertised as office desk spring decor, which means it was probably nearing the end of its glory.  Nonetheless, I thought with my limited experience as a botany enthusiast, I could coax the plant to sustained life for another couple years.

Here it is arriving home from the nursery:


And here it is potted:


Lastly, here it is with its close neighbor, the wandering jew.  I love this mix of purple together!


Perhaps one of these days I will try this plant again.  As I recall, it needed a more regular watering cycle than I could remember to give it.  I believe it would droop as it dried out and that's when I would know I was behind in watering.  This happened way too many times to be healthy, probably.  Also, I remember reading somewhere that once it blooms it doesn't last much longer.  Or perhaps it is that it is tough to trick it into dormancy?  Anyway, this puppy died only months after I bought it.

Wandering Jew (Tradescantia zebrina)

This is by far the easiest houseplant I have ever owned.  It will grow in any lighting condition and almost any watering habit.  And, it is super easy to propagate.

Here is the "mother" zebrina about 5 months after I had received it as a gift.  It is already quite overgrown and is partially choking itself off.


Now, when I was first learning my botanical basics with this plant, I would propagate it something like this… Clip off a dozen or so tips, stash them in like 3 glasses and then plant them each 1"-2" apart in a new pot.  With two years of countless propagations (I have easily propagated this plant into at least 40 different pots), I have refined my technique to involve 10 times the clippings and almost no spacing between replants.  Observe:

Just a few clipping per glass!  What a novice!


The sparseness of the plantings led to sparseness in the adults.  When people refer to their plants as "leggy," this is what I picture:


Then I started with the idea of clustering the clippings in more dense configurations.  This example is probably 12 clippings twist-tied together and set in a juice glass.


I took the twist-tied cluster out of the water and set it in new soil a week or two later.  I don't think I even took the twist-tie off until it had doubled in size!


Now my current technique involves shoving 100 or so clippings into one girthy but stout vase.  These have been sitting a few weeks and probably have loads of roots going by now, so I am due to plant them this week.


Below is a cluster I had planted using the rooting technique above.  This looks to be only a couple weeks in the pot and already it is super dense!


For those at home wondering what constitutes a clipping suitable for propagation, below is an ideal clipping.  The goal is to retain 3-5 leaves and a decent length of stem to set in the water.  Roots will shoot out from the locations where you have removed leaves, so it is best to ensure that your stem has a couple inches to it.  You set this clipping in a glass of water, making sure no leaves are touching the water, and you will likely see roots by the next morning.  You should wait until there is some length to the roots before planting them in soil.  Often times the stem will not be perfectly straight like this one, which can make it difficult to determine an appropriate clipping point and the extent of leaf removal.