Saturday, January 17, 2015

New Strategy for the Begonias

After doing some reading about begonias online and noting their growing requirements, I came to the conclusion that my begonia was doing terribly because the conditions here are not very humid.  Also, the pot I had it in was probably not the best at draining quickly.  It is my understanding that begonias need to be kept in humid environments, but they still need relatively quickly draining soil.

What I have been doing this winter, since the air is so cold and dry, is setting jars of water amongst my plant tiers.  Since I find trays of water and stone to be most annoying and cumbersome, I am trying this alternative approach for now.

Anyway, so I finally decided to repot the begonia, and actually ended up dividing it as well.

For reference, September 2014:


You can see the state of the begonia today in the background, in that hideous pot that I am half tempted to just throw out.  Realistically, I will either give it to someone or drop it in the reusables at Bucks Country Gardens.


I got this cute little Chinese/Japanese-themed ceramic piece at Restore in Chalfont last weekend.  I wasn't sure what to do with it... until now!  I like the way the begonia looks all bonsai in it.


The rest of the big ol' begonia gets nestled into a lower shelf surrounded by four jars of tap water.

Spider Plant Rescue!

I received the below spider plant from a coworker, who was worried he had killed the plant.  Looking at it, I imagine he received the plant many months ago, and just kept it in its plastic cup filled with water.  Perhaps this is a fine long term arrangement for some of the spider plants, but you can tell by looking at this one, it just needs some soil!

Oops, I just realized I didn't take any "before" photos!

Ok, well I ended up plunking it down into my little column cap planter.  I ripped a piece of it off and stuck that in my former baby orchid pot.


Below you can kind of get a sense of some of the decay that had been caused by such long submersion in water.  I think that some of the leaves were completely submerged, in addition to the roots, which caused the leaves to decay and contaminate the water and make the whole plant a garbly gook of a mess.


I will keep tracking the progress of these little ones, but I expect a full recovery!

Sunday, January 11, 2015

Christmas Cactus Clippings Get A More Permanent Residence

My little Christmas cactus was not doing so well in its new environment at the office, which is virtually no natural light and poor artificial light.  Its blooms withered away almost immediately and sometimes the buds just fell off without blooming.  And of course there was some crazy leaf drop action going on, which is always dreadful to witness.

I decided to take the "droppings" and attempt to regenerate them via propagation.  They seem like pretty standard succulents that will sprout new roots after prolonged submersion, so I took a plastic cup from a lunch item and let the leaves soak under the light at work.  Finally, I decided to take them home because that minimal artificial light was just not cutting it.  Below you can see the leaves have barely sprouted any roots despite being saturated for probably at least 2 weeks at the point the photos were taken (mid December).


The fact that some of them did show signs of new root growth encouraged me to continue the experiment.  Sure enough, under much improved lighting conditions, roots formed on all of the droppings and finally it became time to plant them!

I was going to use this leftover soil pictured below, but after I took the photo I decided to just mix up a new fresh batch.  I believe it was somewhere in the 3 or 4 parts peat, 1 part vermiculite, 1 part perlite range.


As is my new custom, I like to put plastic sleeves inside fancy pots for ease of repotting and for an extra layer of "water reservoiring."


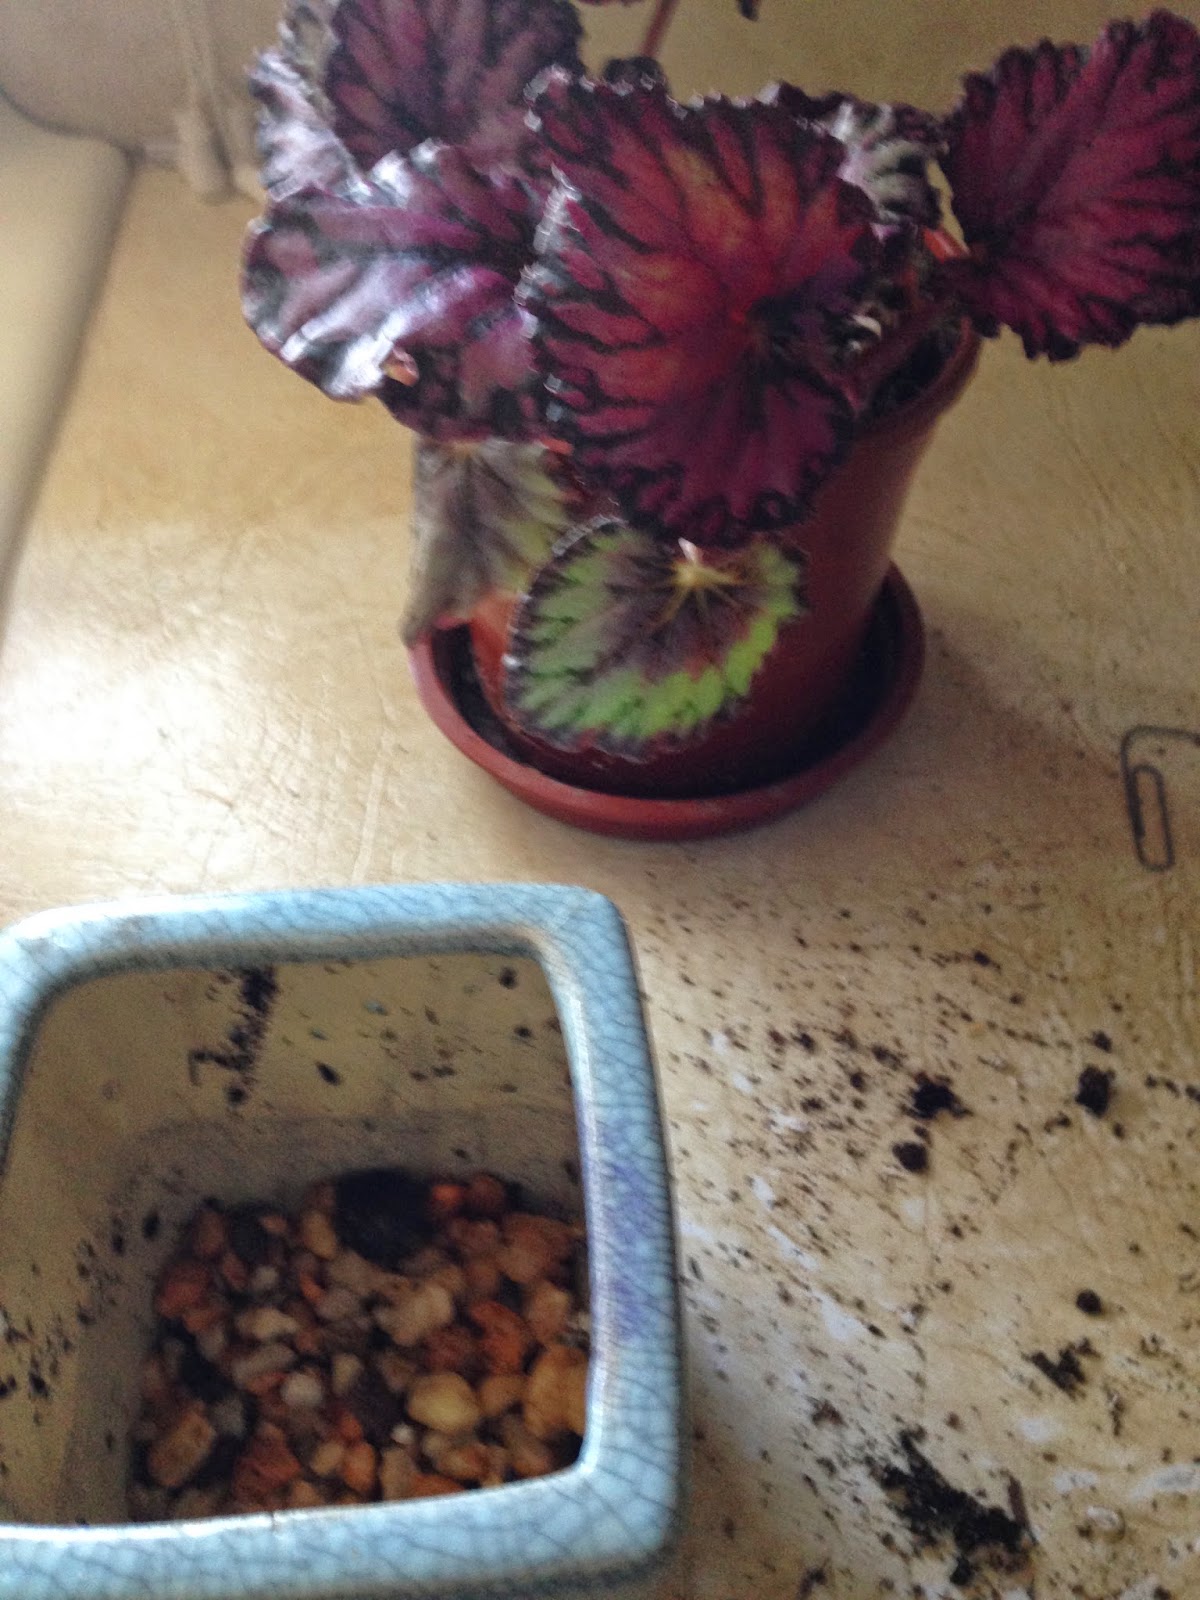
Below you can see that I have lined the plastic sleeve with some river stones.  If the plastic sleeve is not the exact size of the fancy pot (I would prefer the sleeve be a little shorter than the pot's cavity), then I will line the bottom of the fancy pot with the stone and just fill the sleeve with soil.  It's easier that way because you don't have roots and soil intermixed in the stones when you go to use them in a repot scenario.


I am trying to keep this pot well-watered as the droppings are going from being (in some cases) completely submerged to a dehydrated chilly windowsill.  Hopefully there will be signs of new growth in the coming months - I'm certainly not expecting any buds or blooms this spring.